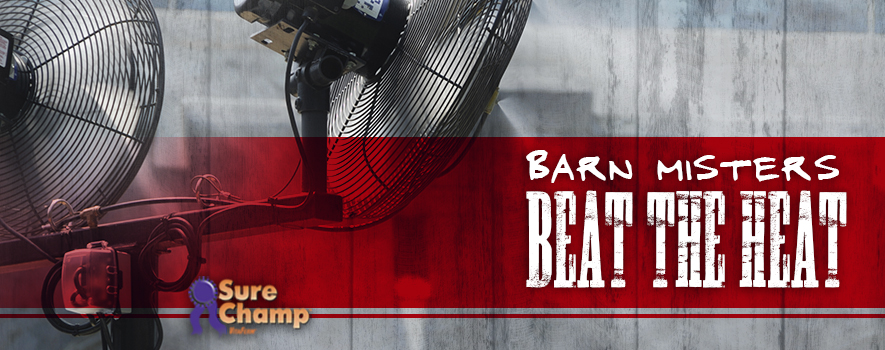
Keeping your animals cool is an important part of the summer care routine and sometimes the budget or situation prevents installation of a professional misting system. We have two low-budget options that will help you beat the heat these final months of summer!
Option 1 :: DIY Misting System
This, like a professionally installed misting system, is a more permanent option but allows you to save cash by doing it yourself. This option will require a little bit more work and the use of tools you might not have on hand.
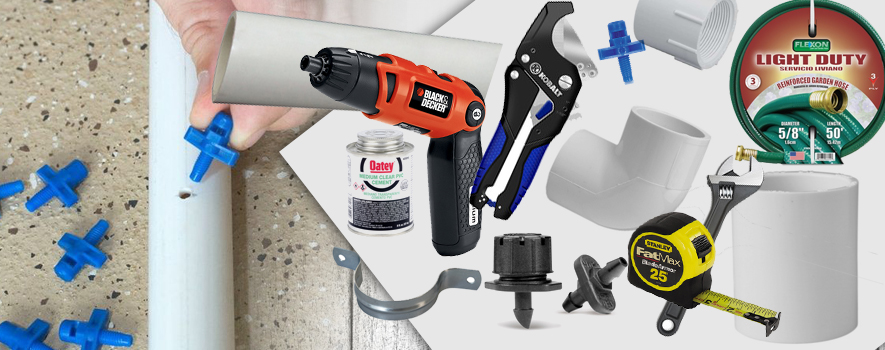
Things you will need (all can be purchased from your local hardware store):
- PVC glue and primer
- Pipe thread sealer
- Pipe cutters or hack saw
- Crescent wrench
- ½-inch-by-10-foot PVC pipe (enough to cover the length of barn desired)
- ½-inch T adapters (enough to place a sprayer about every 3 feet)
- ½-inch elbows if needed (enough for any turns or corners you need to go around)
- ½-inch couplings
- Mister sprayer heads
- Inline filter for ½-inch pipe
- Water shutoff ball valves (2)
- Pipe straps for attaching the pipe to the barn
- Adapter of T fitting to attach pipe to the water supply
Instructions
- Plan and measure the area of the barn to be covered by the mister system. To determine the amount of PVC pipe needed, measure the length of the area in feet and divide by 10. Add an extra piece to cover water or errors.
- Determine the number of sprayer heads. You will need four per 10-foot piece of pipe.
- Determine the water supply to be used (usually a hose bib) for the system and turn it off during installation.
- Unscrew the hose bib from the water pipe and add a T fitting with ½-inch side fitting. Replace the hose bib.
- Attach a shut off valve to the side outlet of the T fitting. Turn off this valve and turn the water back on.
- Attach the PVC pipe to the inline filter and run up the side of the barn to the corner of where the mister system will start using elbows and coupling where needed.
- Attach a T fitting and sprayer at that first corner with the head facing down. Begin attaching pipe and adding a T with sprayer every 3 feet the entire length planned. Be sure to use PVC glue and thread sealer to prevent water leaks
- Attach the pipe to the barn using pipe straps where needed. Attach a pipe at the end of the mist area and run down the side of the barn to a foot or so off the ground
- Add a shutoff valve at the end of the pipe. This will allow you to drain the system when not in use or during cold weather months. To drain you will shut off the valve at the start of the system and open this valve at the end.
- Before using your system, open the valve at the end and then open the valve at the beginning to drain the air. Close the valve at the end to check for leaks and repair if necessary.
Option 2 :: Mister Fans
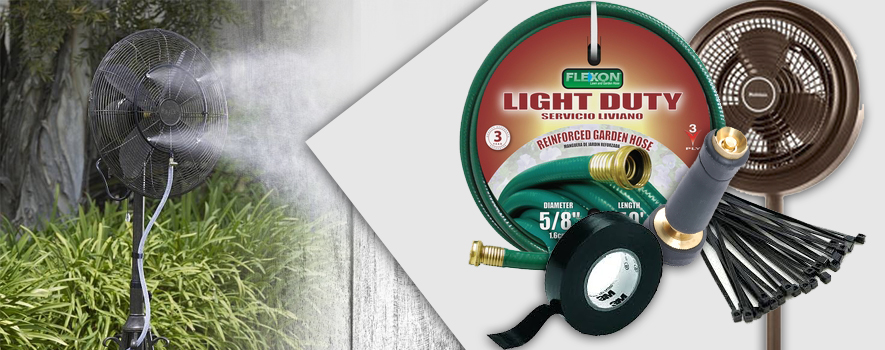
This is an even cheaper option that is more mobile in the event that you need a cooling system for your animals when you are not home. However, it does not cover as large of an area and will require a hose for each fan.
Things you will need:
- Garden hose
- Misting Nozzle for the hose (recommend using one that twists on and off)
- Fan on a stand
- Tape or zip ties
- Electrical tape
- Weatherproof outlet cover (optional)
Instructions:
- Decide where you would like the fan positioned. Keep in mind that you need to be able to reach the outlet as well as the water hose. It is best to use an outdoor fan that can withstand a little more wear and tear.
- Screw the water hose into the outside faucet and run it to the fan. You can use a hose extension if needed.
- Attach the mister nozzle to the end of the hose.
- Run the hose up the front of the fan pole stand so that the mister nozzle is just below the fan. Tape or zip tie the hose in place on the pole
- Adjust the mister nozzle so that it points out from the pole at an angle and away from the fan. This will allow the water to spray up and into the wind that the fan creates and not into the fan itself. Tape or zip tie the nozzle in place.
- Turn the mister nozzle until it is open a little. Turn the fan on first and then slowly turn the water on until you reach the desired water flow. Control pressure at the nozzle end of the hose.
Curated from ehow.com